August Fields

  • Home
  • ABOUT
  • EMAIL ME

pouring patios and ordering things online

April 21, 2010 August Fields

the weather is warming up and things are wrapping up here on the homefront!  for anyone that has built a home (and for those of you who have not) you know that the last 6 weeks are busy!
major changes take place like patios, deck, paint colors etc…..  for me, the satisfaction of seeing the results of all the decisions makes all the decisions worth it.  okay…that was a little confusing, but stay with me here 🙂
below is the upper back patio and a cute curvy sidewalk.  the deck (which you can see in the distance) will have two steps down to the cement patio.
here is the lower patio.  before these were poured we spray painted in bright orange, on the dirt, the shape of the patios.  we stood inside the spray painted area, and lived with it for a couple days to make sure the size would work.
also, we (actually mr. daddy) requested enough divisions in the cement.  i think i overheard him saying it helps with settling?  or so that when a crack happens it won’t spread so far?  anyways……i’m really pleased with the way they turned out!
okay.  moving on.  we purchased most of our lighting and plumbing locally.  but i must say, i am totally intrigued with the low prices of certain websites and couldn’t resist trying a couple and saving some money while i was at it!  i thought i would share my experience as well as show some pictures of the packaging.
i often wonder these things myself when i am looking to make a purchase.  so here you go!
one site we used was lamps plus.  i found a gorgeous chandelier and the price was right.  i put myself on the email list and i watched the site until the fixture i wanted was on a good sale.  and trust me…they ALL go on sale at some point.
okay….so the box was HUGE.  after taking out all the paper and the foam topper this is how it looked.  very snug and secure.  so far, very impressed!
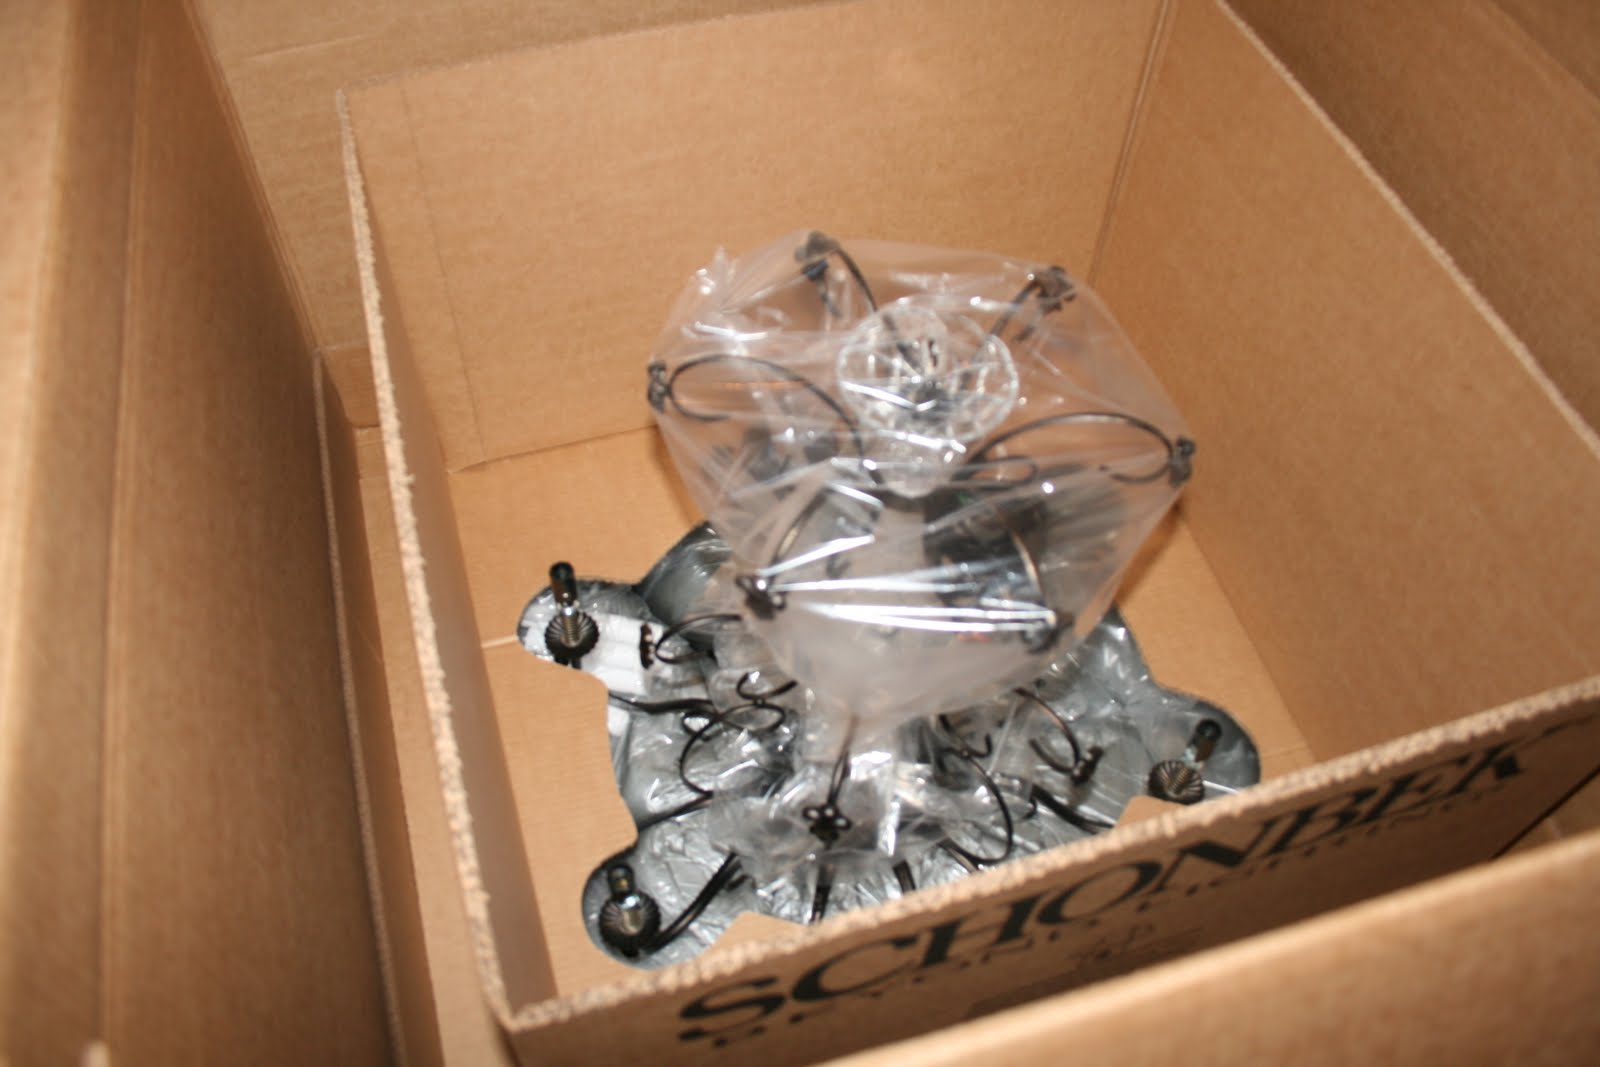
when i lifted the whole chandy out of the box it was still packaged securely in foam type holder.  pretty good right?
there were TONS of crystals.  the strands and large individual ones came in plastic trays like this and then wrapped in brown kraft paper.  the cup like pieces and small hanging pieces were all wrapped in the white foam.
each package was individually labeled A, B, C, D etc.  and coordinated with the diagram in the instructions. nice.  thank you for the clarity.  very helpful. 🙂
we started to put a few of the crystals on to get a feel for “the look”.  wowza!
this should be fun to clean.
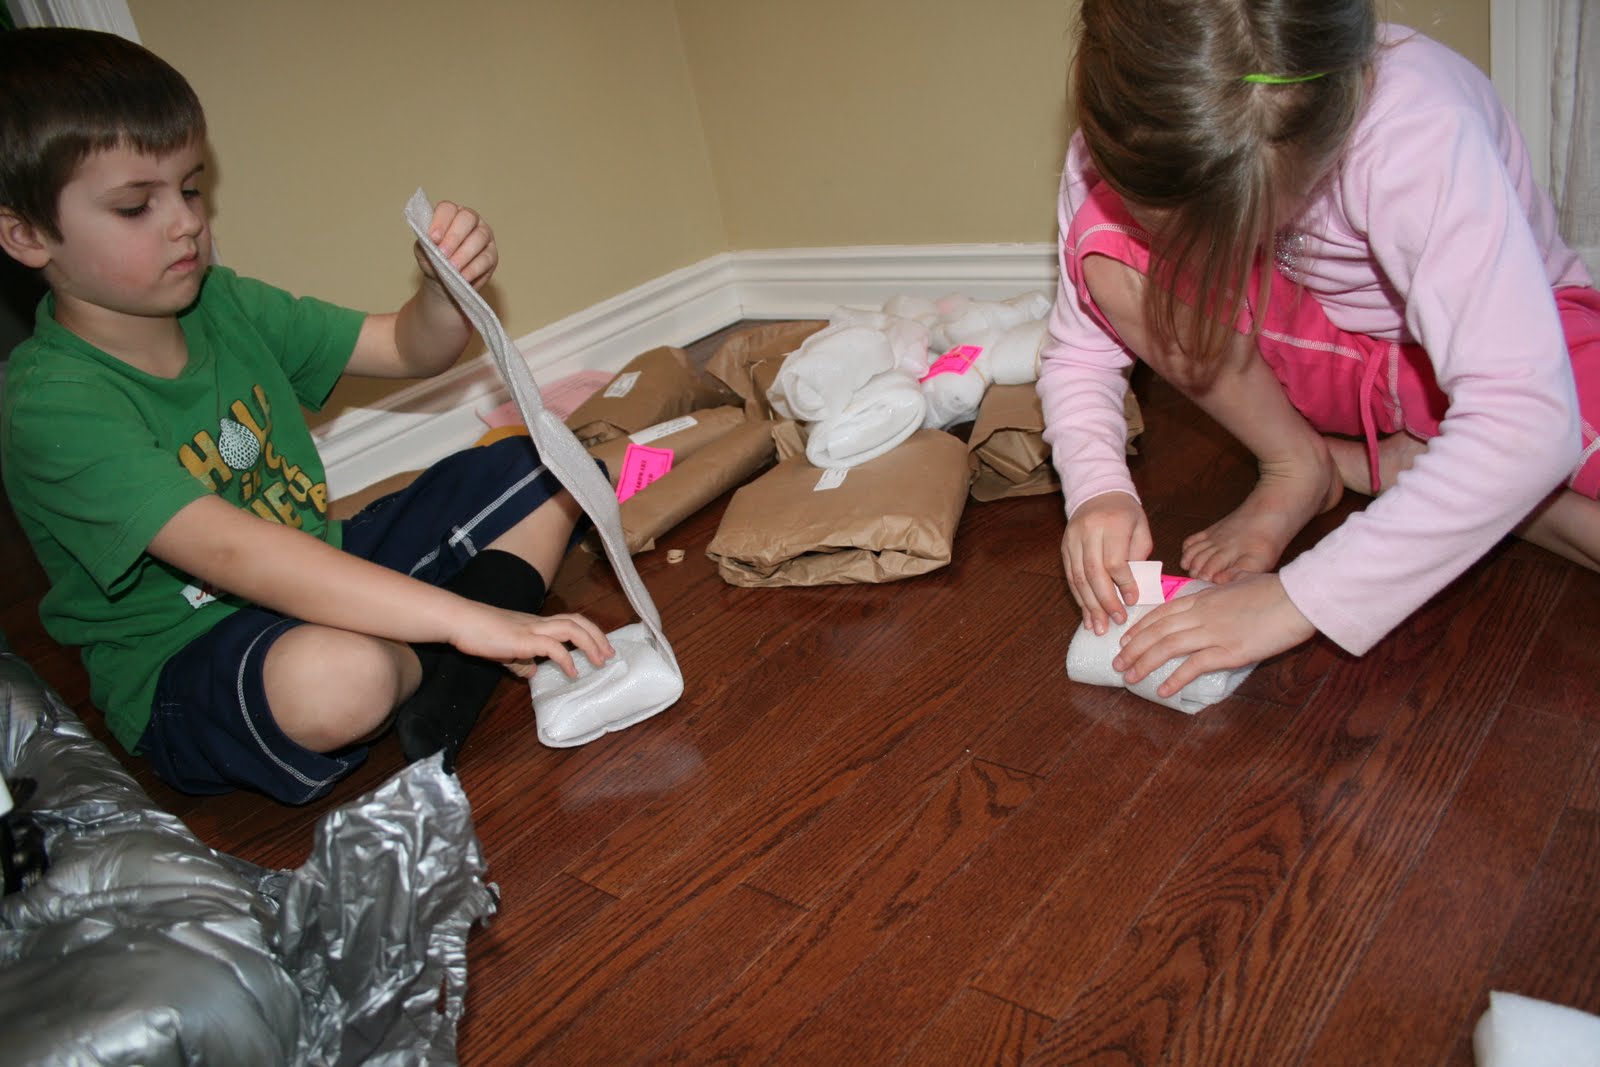
dancy and boone helped me unwrap each and every package and inspect each and every crystal.  there was only one small chip in one small crystal.  and it doesn’t even bother me.  so we’re good!
now.  it does say to test the fixture to verify it’s working okay.  we have not done that.  in a couple of weeks when fixtures are hung we’ll find out.
next stop:  Hausera (formerly efaucets).  we purchased our main kitchen faucet and the prep sink faucet (in the kitchen island) here.
 again, get on the email list,  look for coupon codes online, and wait for your item to go on sale!
these too were packaged really well!
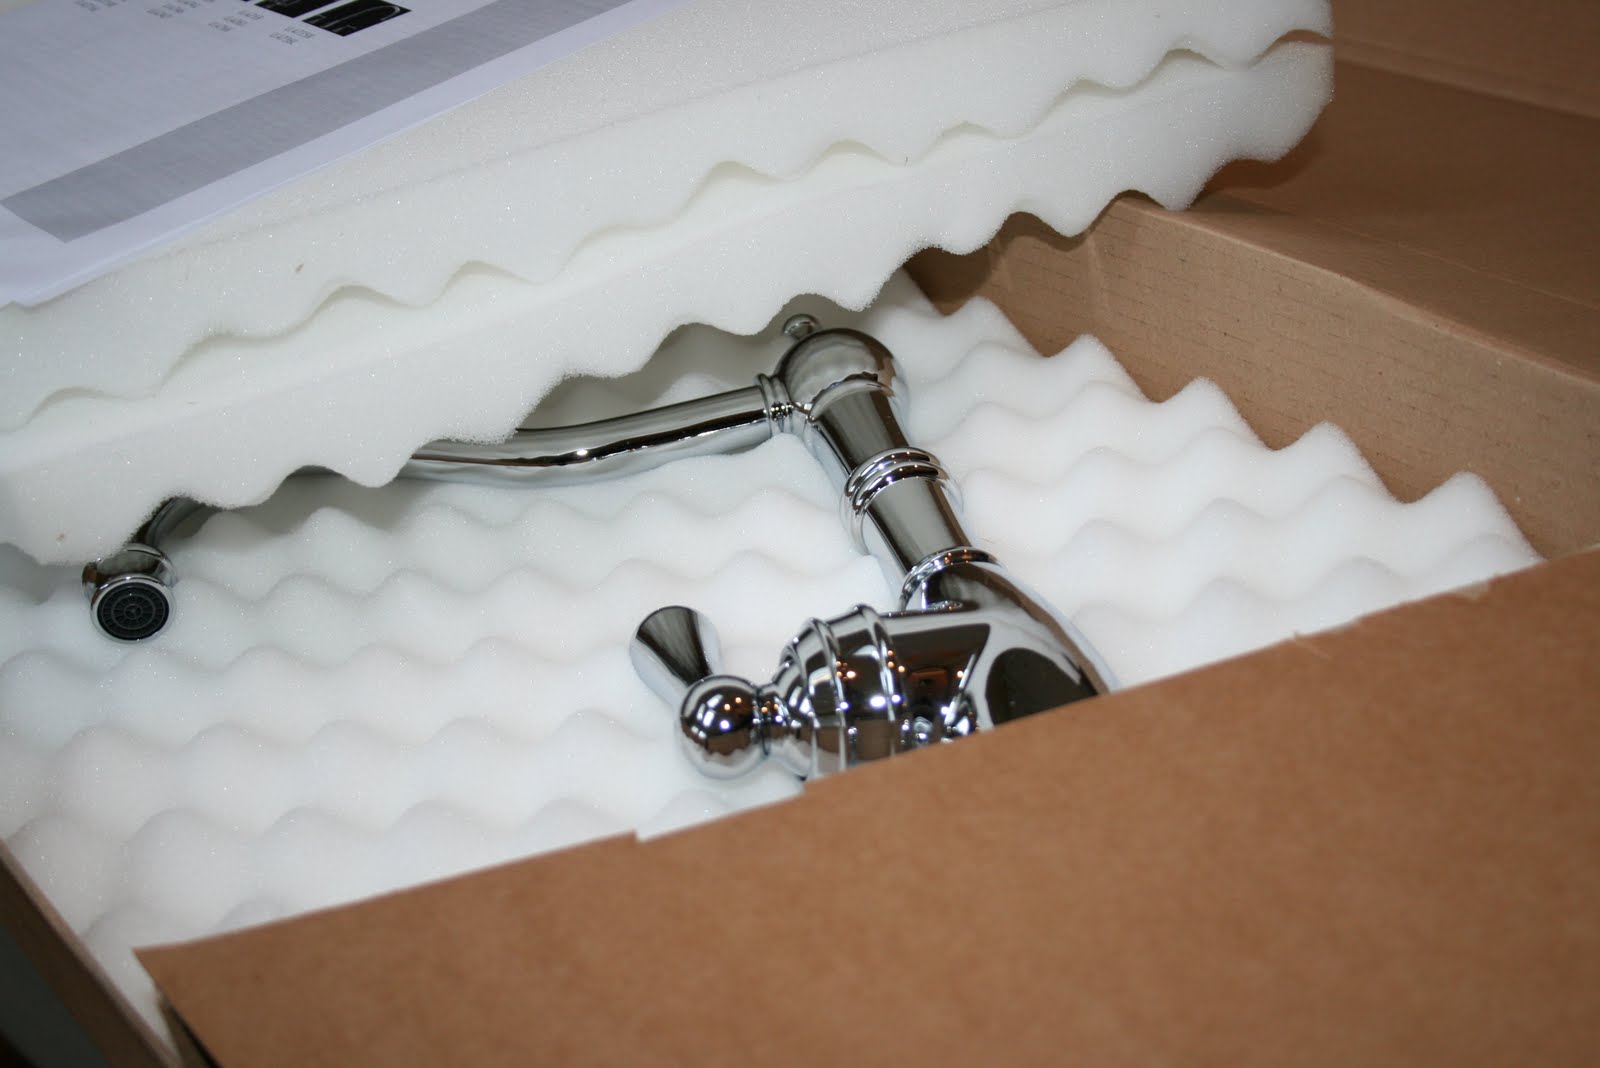
custom fitting foam.
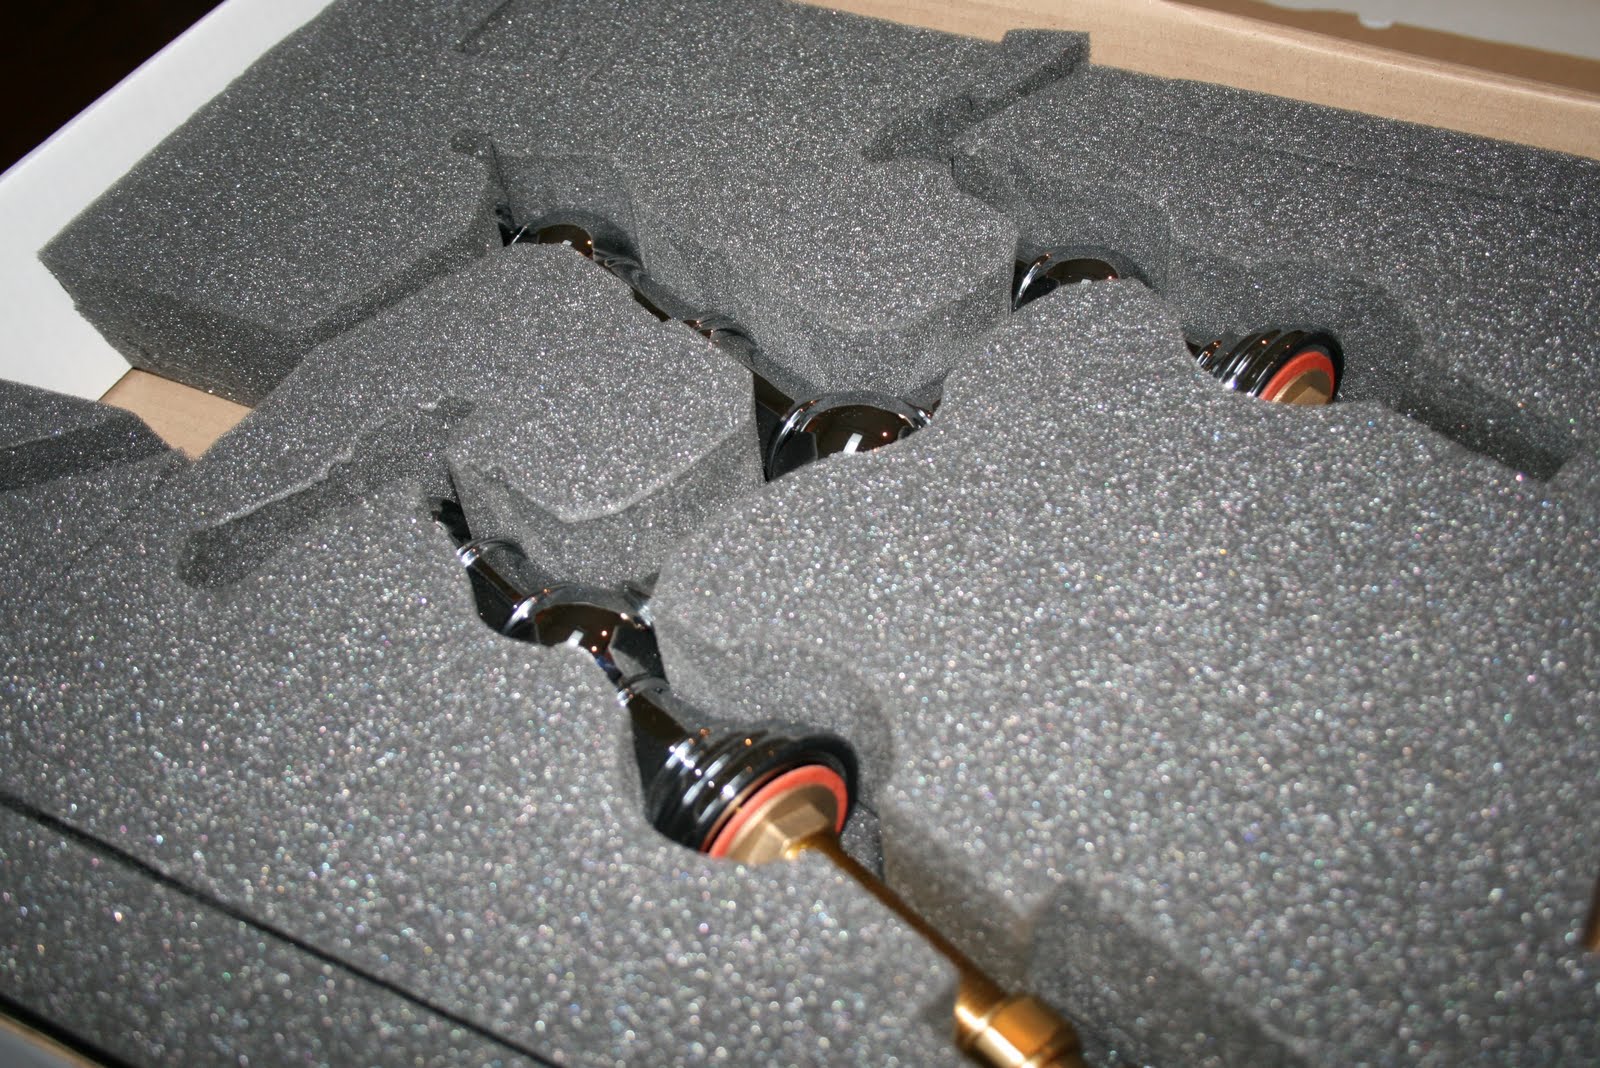
nice sturdy boxes.
so there you have it…my own little review of two online discount stores that have always peeked my interest.   and a little patio talk to boot!
Building our Home, kitchen, Uncategorized

making progress in the kitchen

April 15, 2010 August Fields

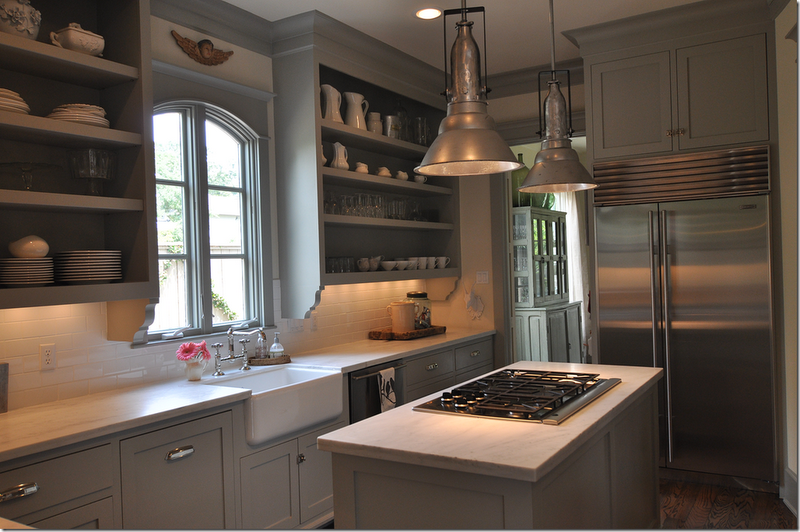
the moment i saw this kitchen posted on cote de texas everything changed.  i went from white cabinets to this gorgeous grey.  and from black soapstone countertops to white italian marble.  
there are so many elements in this picture that inspired our kitchen design!  
1.  the cabinet color!  benjamin moore’s fieldstone
2.  white countertops (yes they will scratch, stain and chip…that’s life!)
3.  those open shelves!  i brought this picture in to our cabinet man.
4. bridge faucet with a straight neck.
5.  wood floors, bin pulls, stainless appliances, apron front sink, white subway backsplash.  
these are things we already were implementing so this solidified the deal! 
image of sally wheat’s kitchen from cote de texas
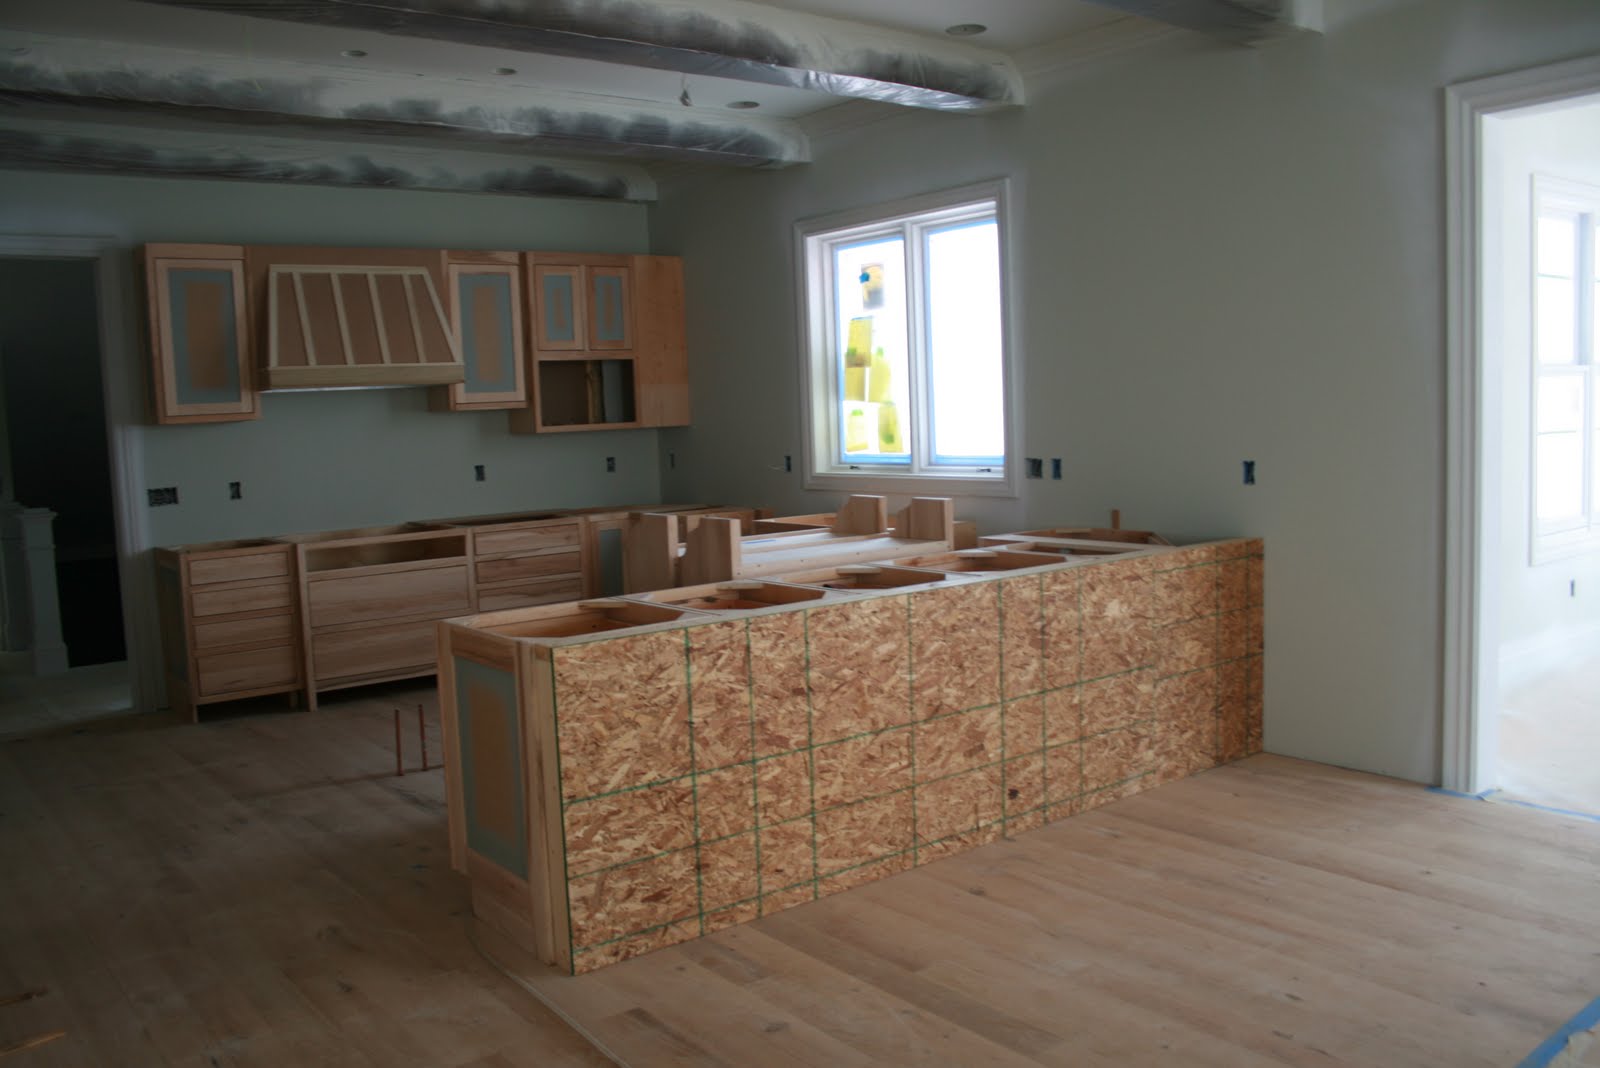
below you see the beginning stages of the kitchen!  the wood beams on the ceiling are covered until the painters are done.

open shelves are up!
the brick “kick wall”.  i don’t know what else to call it.  🙂  you know, the place where the kids kick their feet when they’re sitting at the counter?  the kick wall.  trying to decide if it should be painted the color of the cabinets or the walls (a lighter grey).  any input?

Building our Home, kitchen, Uncategorized

kitchen pantry

April 6, 2010 August Fields

i will once again start out with my ‘inspiration’ pictures.  out of the bajillion pictures i saved in my computer files and paper files (from magazines) of pantries, these are the two that i based most of our pantry design on.
it was very helpful to find a variety of designs because then i could narrow down what i liked and needed.  i was soon able to easily say ‘no’ to different design aspects of a pantry because i knew what i liked.  p.s.  this principle was true for all of the rooms in the house!  so start ripping out pages of magazines and saving pictures on your computer if you have not started yet.  it really helps refine your style!
okay.  back to the pantry.
elements i like/desired/needed:
1.  chalkboard on the door.  
2.  clock inside (this will go above the snack drawer that the kids are
     allowed into at 10:30am and 3:30pm)
~image via country living~
3.  somewhat evenly divided spaces. 
    (i didn’t want to break the budget on a million custom areas in the pantry)
4.  two small custom shelves.  one for 9×13’s and a snack drawer.
~image via i’m not sure?  if you know please tell me :)~
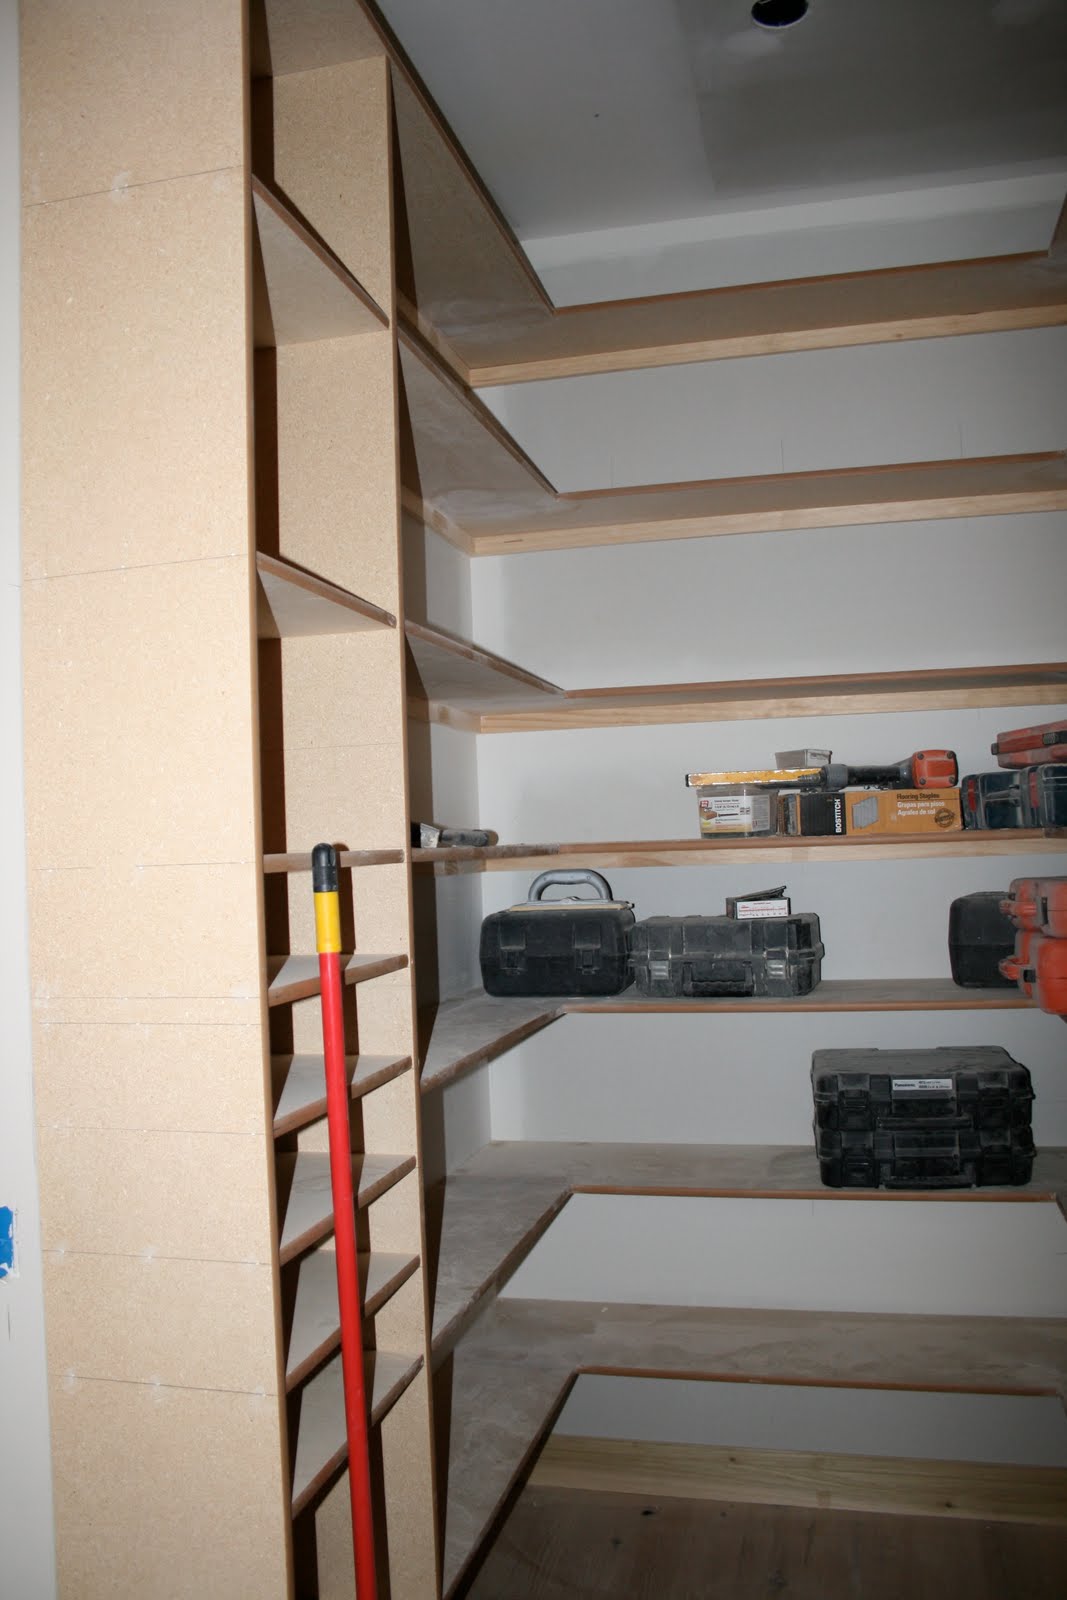
so here you can see how we implemented the chalkboard idea.  we had the plain faced door trimmed into three areas that will coordinate with the other paneled doors in the house.  the big box on top will be filled with chalkboard paint. 
here is one view of the inside.  there will be additional vertical 
spacers added to further separate the longer shelves.
to the left you can see the 5 shelves for 9×13 pans.  this is one dish we use often and many times more than two or three at a time.  i am forever stacking an restacking, clanging them around, practically breaking…well you get the picture.  mama wanted them separated! 🙂
the shelves on the left, beyond the 9×13 shelves, 
overall are much narrower to accommodate canned goods.
i’m sure i’ll have more to add to this as things are progressing rather fast at this point! 🙂

Building our Home, kitchen, Uncategorized

the nursery

March 26, 2010 August Fields

okay…time for a little house update!  we’re moving along quite well and still anticipating a june 1 completion date.  i can hardly believe that is only two months away!!!
so i wanted to do a little piece on the nursery before it’s completed.  this has been my inspiration picture from the beginning.  i cannot find the source but will link back when i do.
i didn’t love everything about this space but the overall look captured what i was looking for.
so i saved this picture and stuck with it for inspiration.
these are the elements i wanted to emulate:
1.  overall layering of basically two colors.  i am really drawn to tone on tone.
2. the separation of colors on the wall.  one color on the bottom, one on top.
3.  the painted white wood floor!
4.  the antique brass chandelier and the smaller scale of it. (i found one!)
5. white crib.
here is the nursery standing in the doorway looking in.  the small closet is to the right of the windows.
next, you can see the wood floor is down.  we went with a 5″ oak.  at final stage it will be sanded down about 1/8″ on sight then finished to specification.
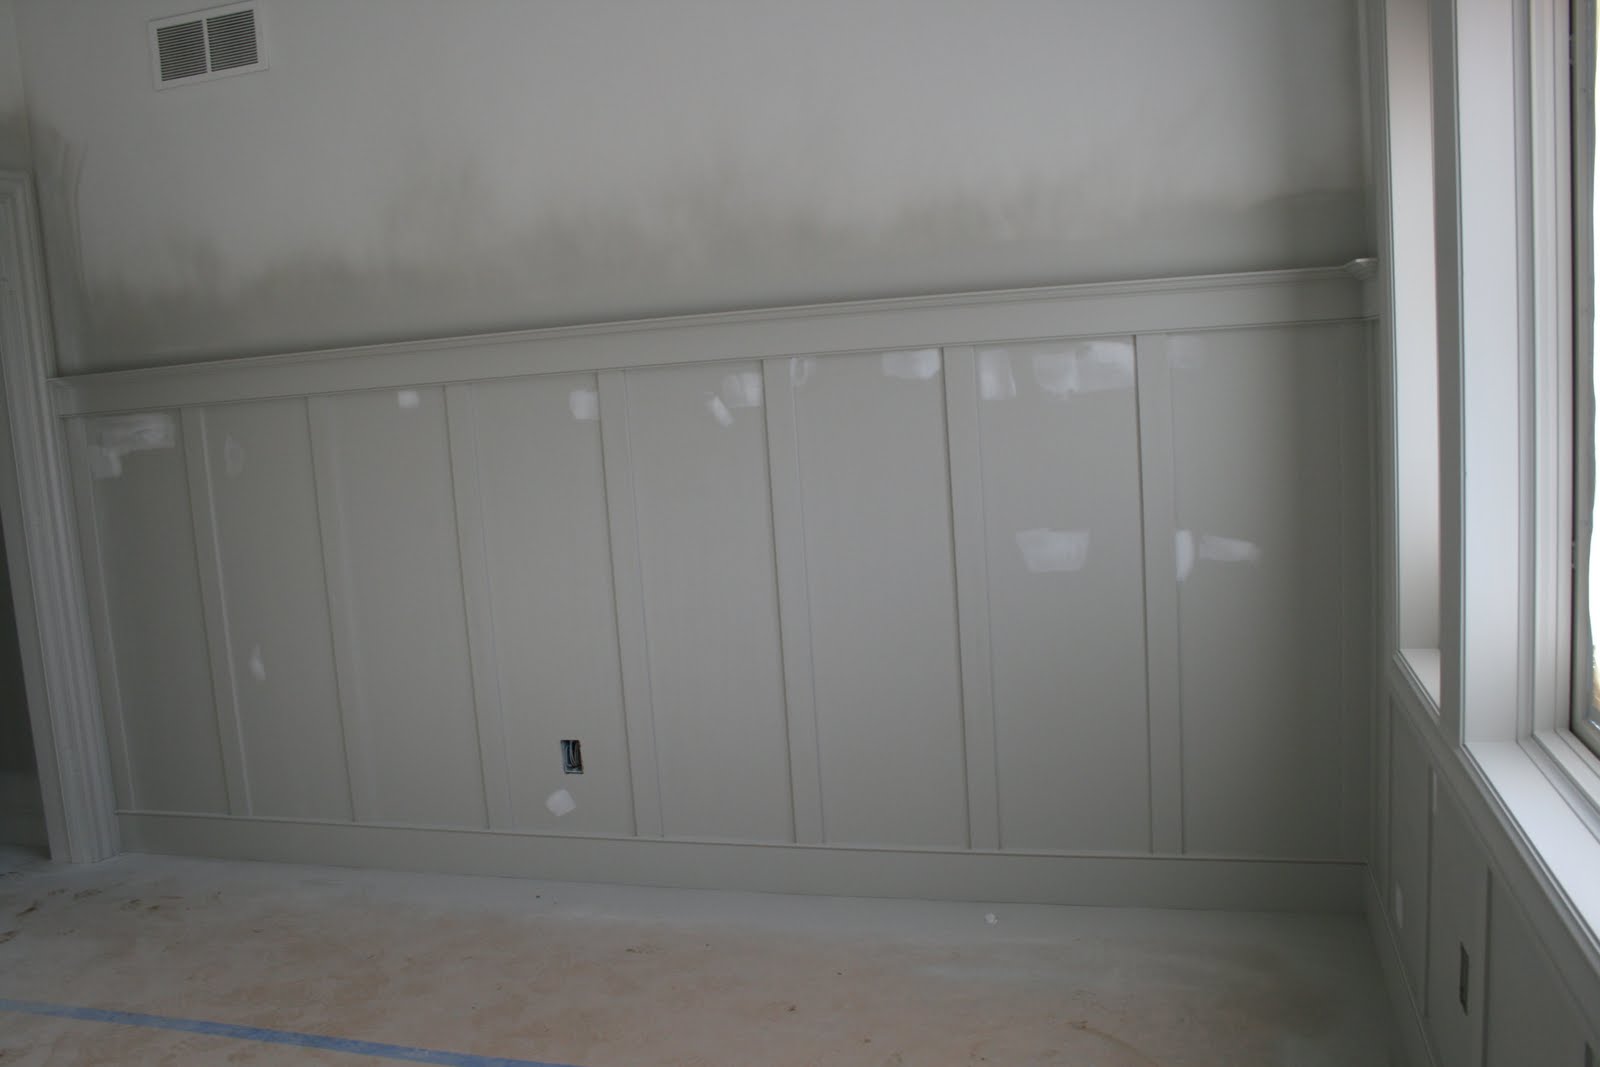
we also decided to layer in a texture to the bottom half of the room.  what you see is board and batten before paint.
below you will see the nursery walls with the finishing touch of a little ledge on the board and batten.
i think it will be nice to be able to lean some artwork on (securely of course!) as well as adding a little more visual interest.
the walls are primed, sanded and nail holes filled at this stage.
the floors have been covered with brown paper to prepare for final painting.  
the bottom half of the room will be painted in benjamin moore’s london fog color.  
the top will be benjamin moore’s ready mix white color which is also the white we are using in several 
other areas of the house.
when we designed this space some of our thoughts were:
~ place this room right next to the master bedroom
~ design this room with the thought that when it is done being used as a nursery we can transition it to be an upstairs office for my husband.
~ therefore the closet was built out with more shelving versus rods for hanging.

Building our Home, nursery, Uncategorized

Homeschool Room Part One

March 20, 2010 August Fields

“I have no greater joy than to hear that my children are walking in the TRUTH.” 3 John: 4


this is the verse that is written on the doorframe to the school room.  and truly it is my prayer.
you can read more about marking our house with scripture here
a schoolroom.  as a homeschooling family this is a major deal for us.  a separate room just for school!
now,  i don’t think this is a necessity because i know many homeschooling families that do school all over the house.  
currently, we have a section in our basement designated for all of our school stuff.  
when we were designing the new house we put a lot of thought into the schoolroom.  
we came up with ideas such as: 
1. schoolroom should be close to the kitchen
  this gives easy access for drinks and snacks.  also, i am often in the kitchen so that would keep me in close proximity to the kids while they’re in the schoolroom.
2.  schoolroom should have plenty of natural light.
currently, since our schoolroom is in the basement, we have no natural light.  i wanted to be able to see the rain, the leaves and the sun.
3.  storage for supplies and shelves for books
this is pretty basic for any homeschooler.  i’m happy with our system now so we just needed
to incorporate something for the new room.  there will also be two simple desks (you can see built
against the wall below) for independent seat work or tests.

4.  an old school door
so excited that i actually did this! you can read about the great search here
the Bible verse is cased in now.  pretty cool to know that the WORD is forever in that frame.
the door came with plenty of ‘scribbles’.  the 3 big kids are trying to wipe some of it off. 🙂
5.  a checkered floor just because 🙂
edited to add this post to Met Monday over at BNOTP

Building our Home, homeschooling, schoolroom, Uncategorized

  • « Previous Page
  • 1
  • 2
  • 3
  • 4
  • …
  • 6
  • Next Page »

Search This Blog

BUNKBED INFO

Our boy’s bunkbeds were custom made from a picture I tore out of a magazine. Unfortunately, there are no drawn up plans I can share.

HELLO

LET’S GET SOCIAL

  • Email
  • Facebook
  • Instagram
  • Pinterest
  • Twitter

Labels

  • 40 bags in 40 days
  • August Fields Co.
  • baby
  • basement
  • Bible in A Year
  • birthday party
  • blog friends
  • Boy Bunk Room
  • bridal shower
  • Building our Home
  • cafe shelves
  • Children's Books
  • christmas
  • christmas shoeboxes
  • Craft Room
  • deck
  • Decorating
  • DIY
  • easter
  • family
  • family room
  • faq
  • favorite books and toys
  • flowers and garden
  • friday favorites
  • Girl Bunk Room
  • Giveaway
  • hilton head
  • homeschooling
  • kitchen
  • master bathroom
  • master bedroom
  • master designer
  • maternity
  • minimal
  • movies
  • moving
  • mudroom
  • music room
  • nursery
  • office
  • Our Home
  • paint colors
  • painted piano
  • pantry
  • pregnancy
  • recipes
  • reformation
  • running
  • schoolroom
  • thanksgiving
  • Thrifty Treasures
  • treehouse
  • typical
  • Uncategorized
  • vacation
  • valentine's day
  • video
  • wedding

Copyright © 2026 · The Tiffany Theme by Blogelina · Built on the Genesis Framework